
In today’s fast-paced digital world, where content is king and attention spans are fleeting, mastering the art of video editing has never been more crucial. Whether you’re an aspiring filmmaker, a seasoned content creator, or a business looking to enhance your brand’s presence, the tools you choose can make all the difference. Adobe Premiere Pro and After Effects stand out as industry leaders, offering unparalleled capabilities to bring your vision to life. But how can you harness their full potential to produce professional-grade videos that captivate and engage? Let’s delve into strategies that will elevate your editing game and ensure your content doesn’t just blend in but stands out.
Understanding the Power of Adobe Premiere Pro
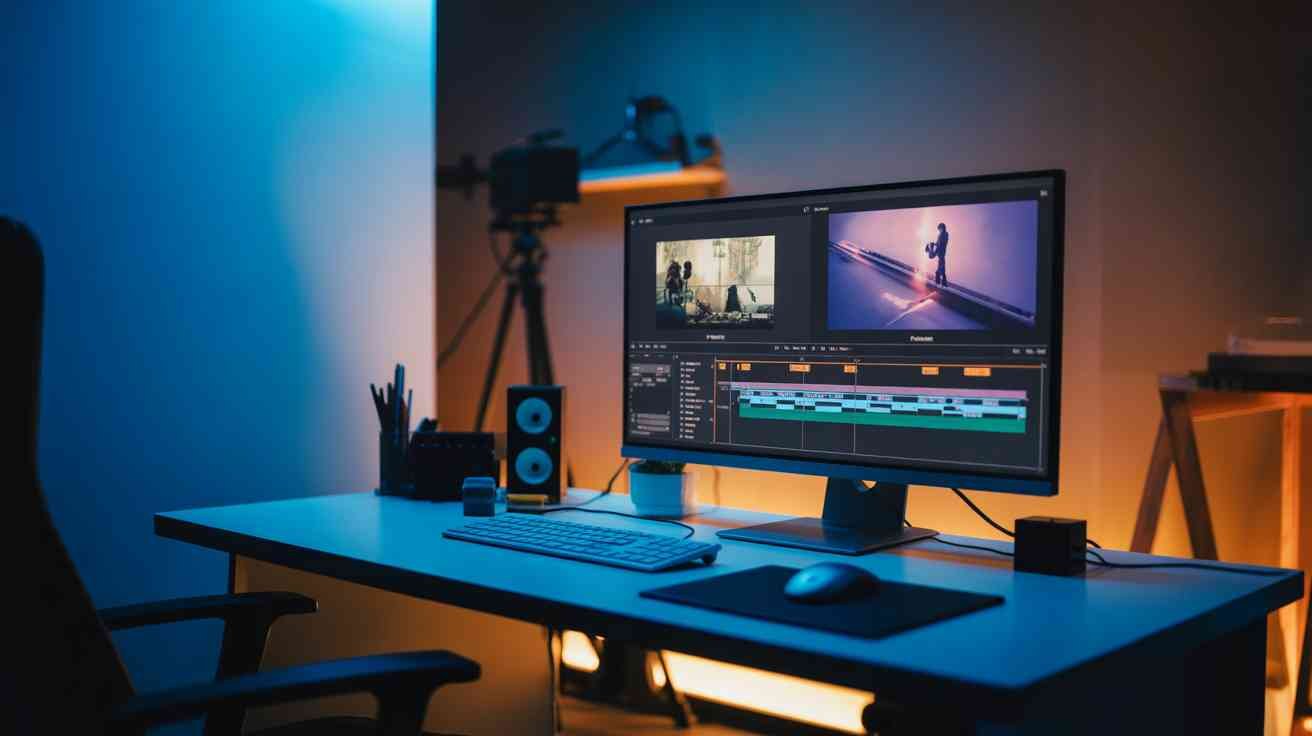
Adobe Premiere Pro is a non-linear video editing software that has become the gold standard in the industry. Its intuitive interface, coupled with a vast array of features, allows editors to craft compelling narratives with ease. From basic cuts to intricate transitions, Premiere Pro offers a comprehensive toolkit that caters to both beginners and professionals alike.
One of the standout features of Premiere Pro is its seamless integration with other Adobe products, such as After Effects and Photoshop. This interoperability ensures a smooth workflow, enabling editors to move between applications without disruption. For instance, you can create a motion graphic in After Effects and import it directly into Premiere Pro, maintaining the integrity of your design.
Moreover, Premiere Pro supports a wide range of file formats, making it versatile for various projects. Whether you’re working with 4K footage or legacy formats, Premiere Pro handles them with finesse. Its robust color grading tools, like Lumetri Color, allow for precise adjustments, ensuring your visuals are both vibrant and true to life.
However, to truly harness the power of Premiere Pro, it’s essential to understand its keyboard shortcuts and workflow optimizations. Customizing your workspace and learning shortcut keys can significantly speed up your editing process, allowing you to focus more on creativity and less on navigation.
Enhancing Visuals with Adobe After Effects
While Premiere Pro excels in editing, Adobe After Effects takes your visuals to the next level with its advanced motion graphics and visual effects capabilities. After Effects is the go-to software for creating stunning animations, intricate visual effects, and dynamic titles.
One of the primary advantages of After Effects is its layer-based editing system. This system allows for complex compositions, where each element can be manipulated independently. Whether you’re adding a subtle glow to a logo or creating an explosive visual sequence, After Effects provides the tools to do so with precision.
Furthermore, After Effects boasts a vast library of plugins and presets that can expedite your workflow. From cinematic transitions to realistic particle effects, these resources can add a professional touch to your projects without the need for extensive manual work.
Integration between After Effects and Premiere Pro is seamless, thanks to Adobe’s Dynamic Link feature. This feature allows you to import After Effects compositions directly into Premiere Pro without rendering, ensuring real-time updates and a more efficient workflow.
Mastering the Workflow: From Premiere Pro to After Effects
To maximize efficiency, it’s crucial to establish a workflow that leverages the strengths of both Premiere Pro and After Effects. Start by organizing your project in Premiere Pro, setting up bins for different assets, and creating sequences for various scenes. This organization will serve as the foundation for your project.
Once your basic edits are in place, identify areas where visual effects or motion graphics can enhance the narrative. These elements are best created in After Effects. Using Dynamic Link, import these compositions back into Premiere Pro, ensuring a cohesive and polished final product.
It’s also beneficial to pre-render complex compositions in After Effects to reduce playback lag in Premiere Pro. This approach ensures a smoother editing experience and allows for more accurate previews.
Lastly, always maintain a backup of your project files and assets. This precaution safeguards against potential data loss and ensures you can revert to previous versions if necessary.
Color Grading: Setting the Mood
Color grading is an essential aspect of video editing that can dramatically alter the mood and tone of your footage. Adobe Premiere Pro offers a suite of color grading tools, including the Lumetri Color panel, which provides controls for basic corrections, creative looks, and color wheels.
Begin by performing a primary color correction to balance the exposure, contrast, and white balance. This step ensures that your footage has a neutral starting point. Next, use the creative tools to apply a color grade that aligns with the desired mood. For instance, a teal and orange look can give your footage a cinematic feel, while a sepia tone can evoke nostalgia.
It’s important to monitor your color grading on a calibrated monitor to ensure accuracy. Additionally, consider using adjustment layers for global changes and nested sequences for localized corrections.
For more advanced color grading, After Effects offers tools like the Color Finesse plugin, which provides more granular control over color manipulation. Integrating these tools into your workflow can elevate the visual quality of your projects.
Sound Design: Crafting the Audio Landscape
Audio plays a pivotal role in video production, often enhancing the emotional impact of a scene. Adobe Premiere Pro includes a range of audio editing tools, such as the Essential Sound panel, which simplifies tasks like dialogue enhancement, noise reduction, and audio mixing.
Start by organizing your audio tracks, separating dialogue, music, and sound effects. Use the Essential Sound panel to assign the appropriate audio type to each track, allowing Premiere Pro to apply relevant processing automatically.
For more detailed audio work, Adobe Audition offers advanced features like multi-track editing, spectral analysis, and noise reduction. You can round-trip your audio from Premiere Pro to Audition and back, ensuring high-quality sound design.
Remember, good audio can make or break a video. Investing time in sound design ensures that your audience remains engaged and immersed in your content.
Exporting: Delivering the Final Product
Once your video is edited, graded, and mixed, it’s time to export. Adobe Premiere Pro provides a comprehensive export dialog that allows you to choose from a variety of formats and presets, catering to different platforms and devices.
When exporting, consider the target platform. For instance, YouTube recommends using the H.264 codec with a .mp4 wrapper for optimal quality and file size. Adjust the bitrate settings to balance quality and compression, ensuring your video looks great without unnecessary buffering.
Additionally, Premiere Pro offers batch exporting, allowing you to export multiple sequences simultaneously. This feature is particularly useful when delivering content to various platforms or clients.
After exporting, always review your video on the target device to ensure it meets your expectations. This final check can help identify any issues that may have been overlooked during editing.
Staying Updated: Embracing New Features
The world of video editing is constantly evolving, with software updates introducing new features and enhancements. Adobe frequently updates Premiere Pro and After Effects, adding tools that streamline workflows and expand creative possibilities.
Stay informed about these updates by regularly checking Adobe’s official website or subscribing to industry blogs and forums. Embracing new features can keep your skills sharp and your projects on the cutting edge.
For instance, Adobe’s integration of artificial intelligence through Adobe Sensei has introduced features like Auto Reframe, which automatically adjusts your video’s aspect ratio for different platforms, saving time and effort.
By staying updated and continuously learning, you can ensure that your video editing skills remain relevant and competitive in the ever-changing digital landscape.
Conclusion: Elevating Your Video Editing Skills
Mastering Adobe Premiere Pro and After Effects opens up a world of creative possibilities. By understanding the strengths of each software and integrating them into a cohesive workflow, you can produce professional-grade videos that captivate and engage your audience.
Remember, the key to success lies in continuous learning and adaptation. As you hone your skills and explore new techniques, your ability to tell compelling stories through video will only grow stronger.
So, are you ready to take your video editing to the next level? Dive into Adobe Premiere Pro and After Effects today, and start creating content that not only meets but exceeds industry standards.
If you want to streamline your multimedia projects while ensuring clarity, consider the impact of storyboarding, especially when addressing complex topics like urologist education requirements as part of your planning process.
If you are considering a career shift, exploring alternative education jobs can lead you to innovative paths in video production that enhance storytelling capabilities.
